Animation
Animation (EMotionFX)
Lumberyard uses EMotionFX as the animation editor.
Exporting FBX from Maya and Importing in Lumberyard
Lumberyard’s asset pipeline to import FBX models can sometimes be a little complicated. Lumberyard expects assets to be imported in a specific way, and fails or causes weird issues otherwise. To export models from Maya, both the mesh and the skeleton should be selected along with unchecking the Animation and Bake animation box. Additionally, to export only animations, only select the skeleton and check the Animation and Bake animation box before exporting. Finally, these files can then be places in an appropriate folder within a project in Lumberyard.
To make characters move around the level with their animations, Lumberyard uses Motion Extraction. For this purpose, an extra joint needs to be added in the rig of the character in Maya to be the root node (shown in picture below). If this is not done, animations in Lumberyard get messed up with the character facing the wrong direction and it’s animation rolling.
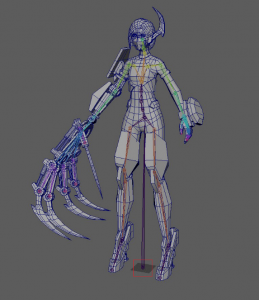
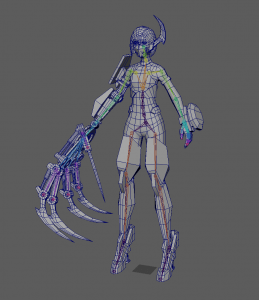
In order to import the character (Actor in Lumberyard) and animations into the EmotionFX, click the “file” button and then select “Add Actor” to choose a character FBX for creating a new Actor.
Animation Control
Character Entity
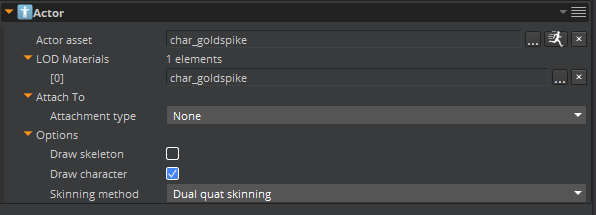
Actor
In Lumberyard, a character entity needs an Actor component. Actor component is necessary if we want an animated character in the game. The actor assets should be rigged, otherwise it can’t be recognised by the component.
Anim Graph
If we want to add controllable animations to the character, we should add the Anim Graph component to the character entity. This entity should have Actor component.

There are two things we should add to the Anim Graph component: Anim graph and Motion set. Anim graph is a graph that contains all the animation transition logic. Motion set is a set that contains all the motions needed in the anim graph. These two things can be edited in the animation editor.
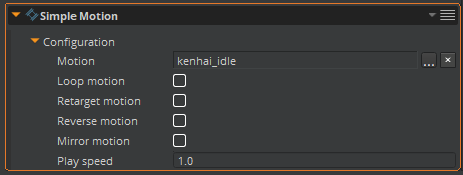
Simple Motion
If we only want one animation for the character, we should add the Simple Motion component to it. There are several functions we can use in this component to help us add different features to the animation. There can be only one Simple Motion component for one entity.
Animation Editor
AnimGraph
The AnimGraph holds information about the different animations of the actor as well as the relationships between these animations. The AnimGraph component has a Graph property that lets you select the animation graph that was created in the Animation Editor.
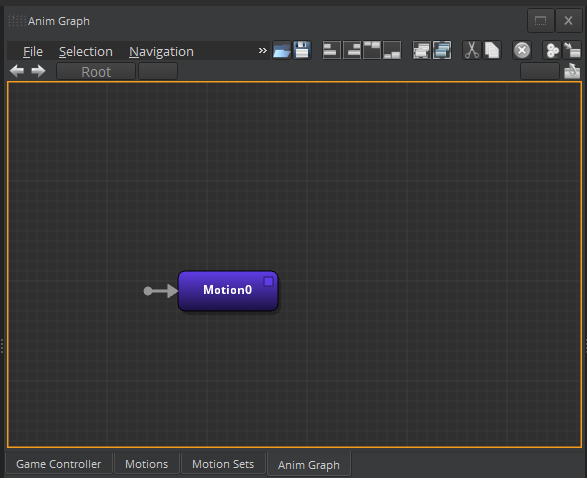
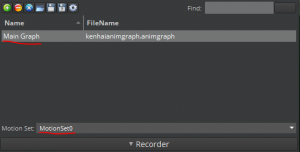
To activate the anim graph, we have to double click the anim graph name, and remember, motionset should be selected.
Motion Sets
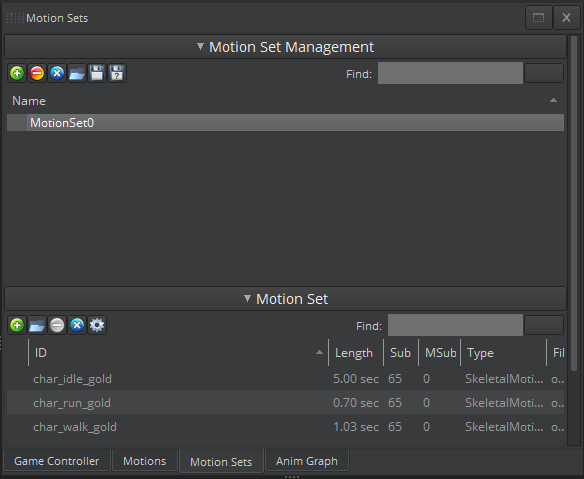
Motion Sets hold a group of animations which can be added in the AnimGraph for that particular Actor. In the example below, there are three animations: char_idle_gold, cahr_run_gold and char_walk_gold in MotionSet0.
Motion Extraction
Actors in Lumberyard move with root motion. For example, if we want the actor to run forward in the level, the actor will move forward only if the animation root is moving forward (but not stepping on the spot). To set up root motion, models in Maya should be set up to move the root forward in the animation. Additionally, we need to set the Motion Extraction in the attributes window of the AnimGraph by selecting the root node as the motion extraction node.

Parameters
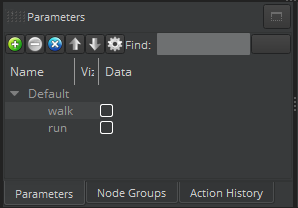
Parameters can trigger certain animations. In this example, there are two parameters – walk, and run. Their types are checkbox. Changing a parameter can cause the change of state of current animation. There are different value types of a parameter, for example, floatslider, intslider, checkbox, vector2, vector3 and so on.
State Machines and Blend Trees
With state machine, we can conclude several animations into a group and abstract them as a single state. With blend trees, we can blend several animations together and set the connections of the output with parameters.
State machine and blend trees can be created in the animation editor on an animation graph.
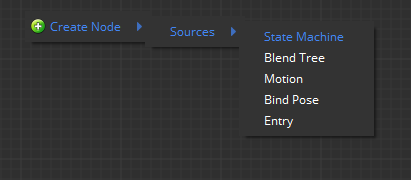
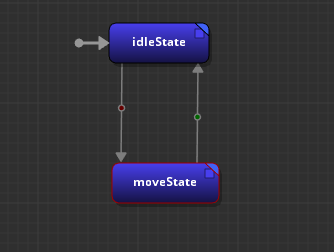
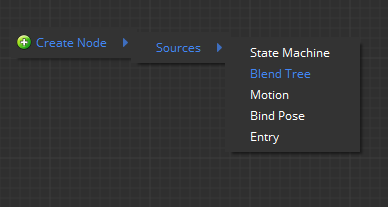
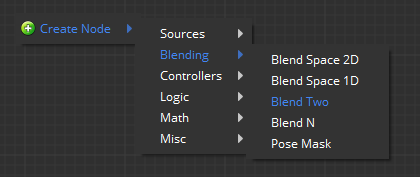
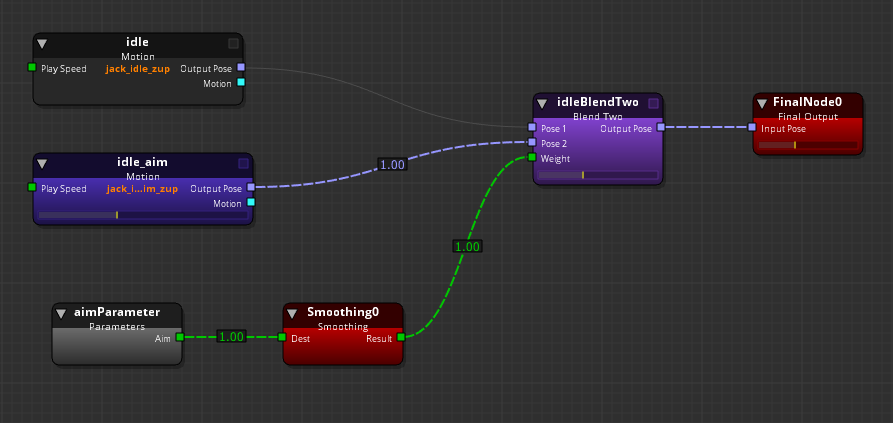
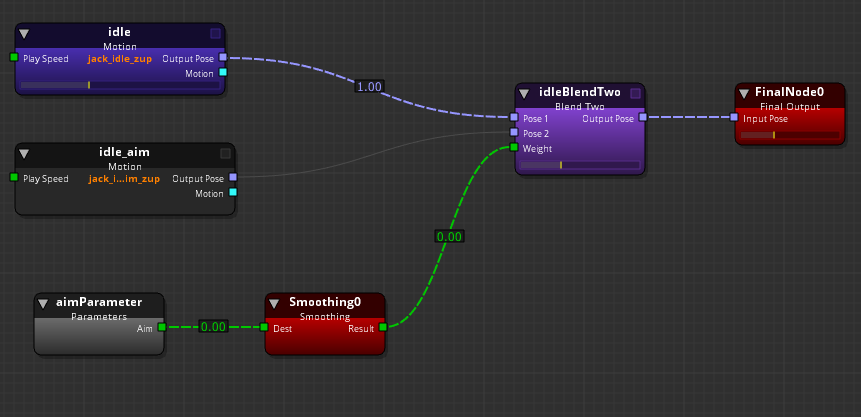
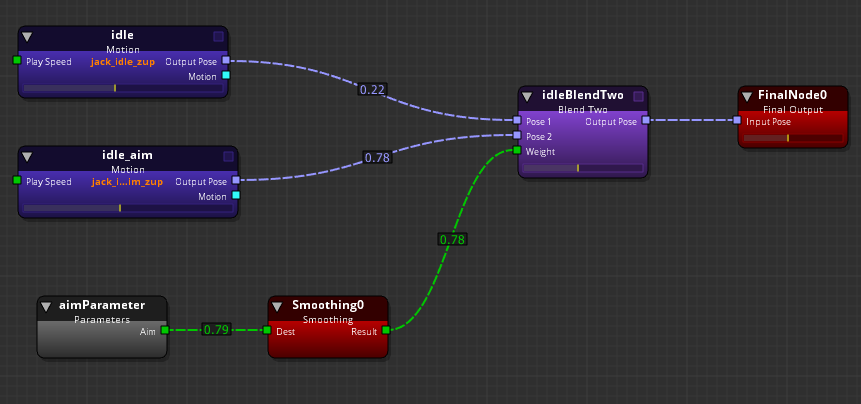
There are four types of options we can use inside a blend tree. The most important things in blending tree are the target motions. They are the material for blending. For example in idleBlend, there are two motions are waiting for blending: idle and idle_aim.

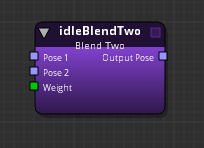
Inside a blend tree, there should also be a Blend Two node to make the blending happen.
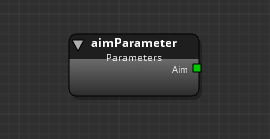
Also, a parameter node together with a parameter is needed to control blending. The weight lay on two motions would be controlled by this parameter.
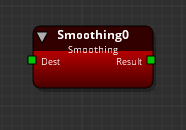
Last but not least, a smoothing node can help smooth the blending.
All of the elements can be organised in this way:
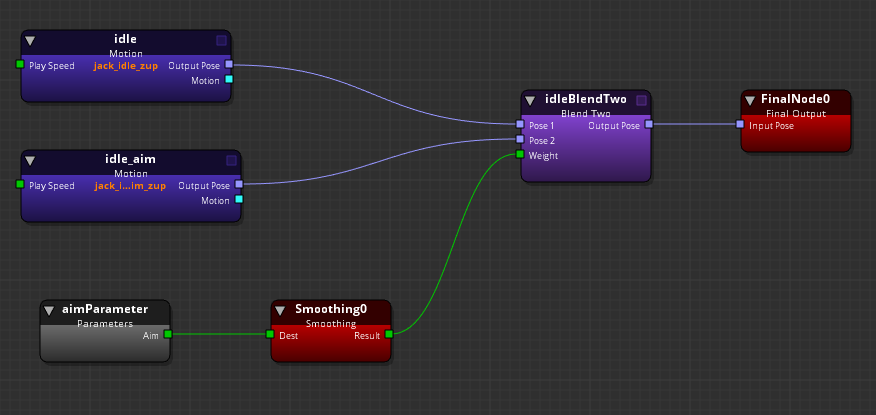
In this blend tree, the weight on the two motions is influenced by the aimParameter. If the parameter value is 1.0, the weight on idle aim is 1.0 while the weight on idle is 0.0. If the parameter value is 0.0, vise versa.
PoseMask
A PoseMask node can be added inside a blend tree. It is a blend node, used for set different layers to a certain pose. For example, if we want to keep the root motion of running while keeping the body animation of jumping, we can add a PoseMask as per the followed picture:
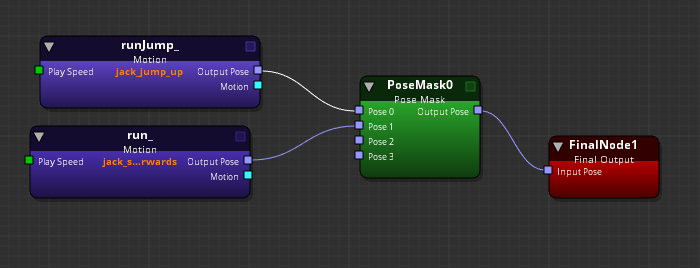
Pose 0 is Jump animation, pose 1 is run animation.
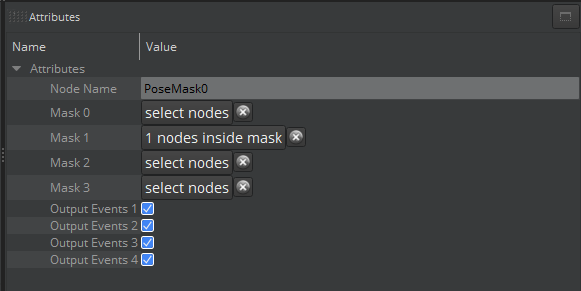
Adding root node to mask 1 to keep the root motion in run animation.
Scripting Interface
Scripts controlling animations should be attached to the entity that has the Actor and AnimGraph components attached to it. In scripting, animations can be called by changing values of parameters that in turn changes animation state based on the state machine set up. In the animation graph, each animation can be set up to be triggered by certain parameters, thus, having access to control these parameters means being able to trigger animations.
For example, if we want to change the speed parameter in the AnimGraph:
self.speedParam = AnimGraphComponentRequestBus.Event.FindParameterIndex(self.entityId, "Speed");
and if we want to assign a value to it:
AnimGraphComponentRequestBus.Event.SetParameterFloat(self.entityId, self.speedParam, 1.0);